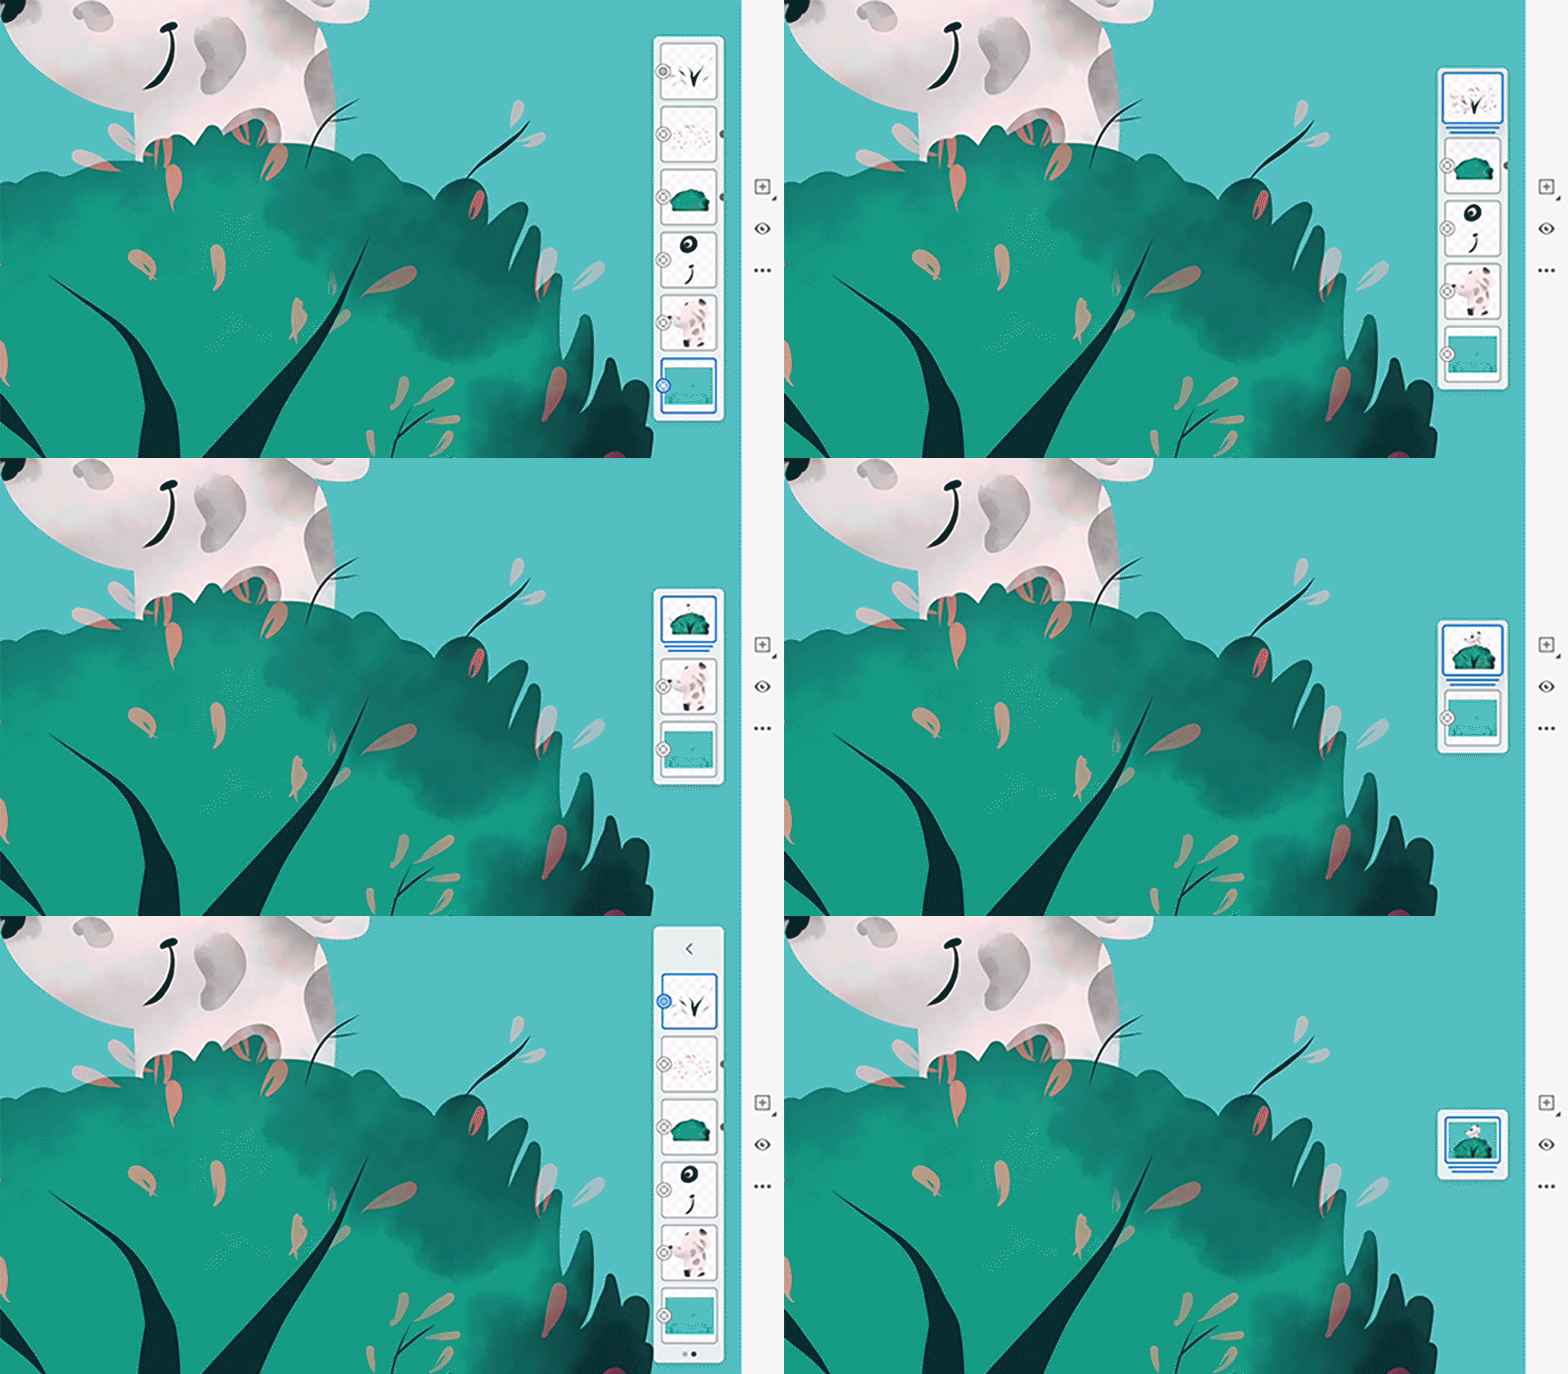
Select any layer and tap the More options icon on the taskbar on your right, the Layer actions menu appears. In the menu, tap Select multiple.
- Adobe Fresco User Guide
- Introduction
- What's New in Adobe Fresco
- What is Adobe Fresco
- System Requirements for Adobe Fresco
- Release Notes for Adobe Fresco
- Adobe Fresco on the iPhone
- Keyboard shortcuts
- Accessibility in Fresco
- Adobe Fresco | Common questions
- Get started with the user interface
- Upgrade to a premium plan to access premium fonts
- Storage for Adobe Fresco
- Supported features on iPad and Windows devices
- Content authenticity (not available in mainland China)
- Draw, paint, animate, and share
- Layers
- Drawing aids in Adobe Fresco
- Basic shapes in Adobe Fresco
- Load basic shapes as selections
- Brushes overview in Adobe Fresco
- Pixel brushes
- Live brushes
- Vector brushes
- Mixer brushes
- Ribbon brushes
- Adjust pressure curve on stylus
- Colors
- Paint inside boundaries
- Apply motion to artwork
- Free Transform tool
- Magic Wand tool
- Pose tool
- Smudge tool
- Liquify tool
- Add and modify text
- Elements
- Publish, export, and share
- Layer masks
- Access Creative Cloud libraries in Fresco
- Ruler
- Erasers
- Add your own font
- Grids alignment
- Symmetry
- Adobe Fresco and Creative Cloud apps
- Cloud documents
- Troubleshooting
- Examples, ideas, and inspiration
Learn how best to work with layers in Adobe Fresco so you can easily edit and enhance your artwork.


Layers help you keep different elements of your artwork separate. You can also select multiple layers and apply an action to more than one layer at a time.
When you draw in Adobe Fresco with pixel and vector brushes, you will notice that Adobe Fresco intelligently places the drawings on different layers. You can also create layers manually.
Layer actions
In Adobe Fresco, you get a wide range of actions to work with layers. For example, you can easily hide a layer to focus on all the elements of the drawing that lie outside of that layer. Or you can easily rearrange layers to move some elements of your artwork to the foreground or background.
You will find icons for frequently needed actions like Add Layer and Hide Layer right there on the Taskbar. For other actions, tap the More Options icon to display the Layer Actions pop-up menu and select the action.
To move any layer, long-press on the layer and then drag it up or down to the desired location in the layer hierarchy.
Select multiple layers to quickly transform, apply opacity or blend mode adjustments, change visibility or create a group.
Want to convert a vector layer into a pixel layer?
Use the Convert to Pixel action to convert a vector layer into a pixel layer if you want to edit your drawing on the vector layer with pixel brushes or live brushes.


After the conversion, the elements on the layer might pixelate if they are made larger.
What does the Merge Down action do?
Use the Merge Down  action to combine more than one layer into a single layer if you want to edit the elements of the different layers together.


Remember that you won't be able to split the merged layers unless you immediately tap Undo  after the merge action.
Layer group actions
When your artwork has many layers, creating smaller layer groups helps you keep your workspace uncluttered. You have many actions for layer groups in Fresco to do your work faster.


Layer mask actions
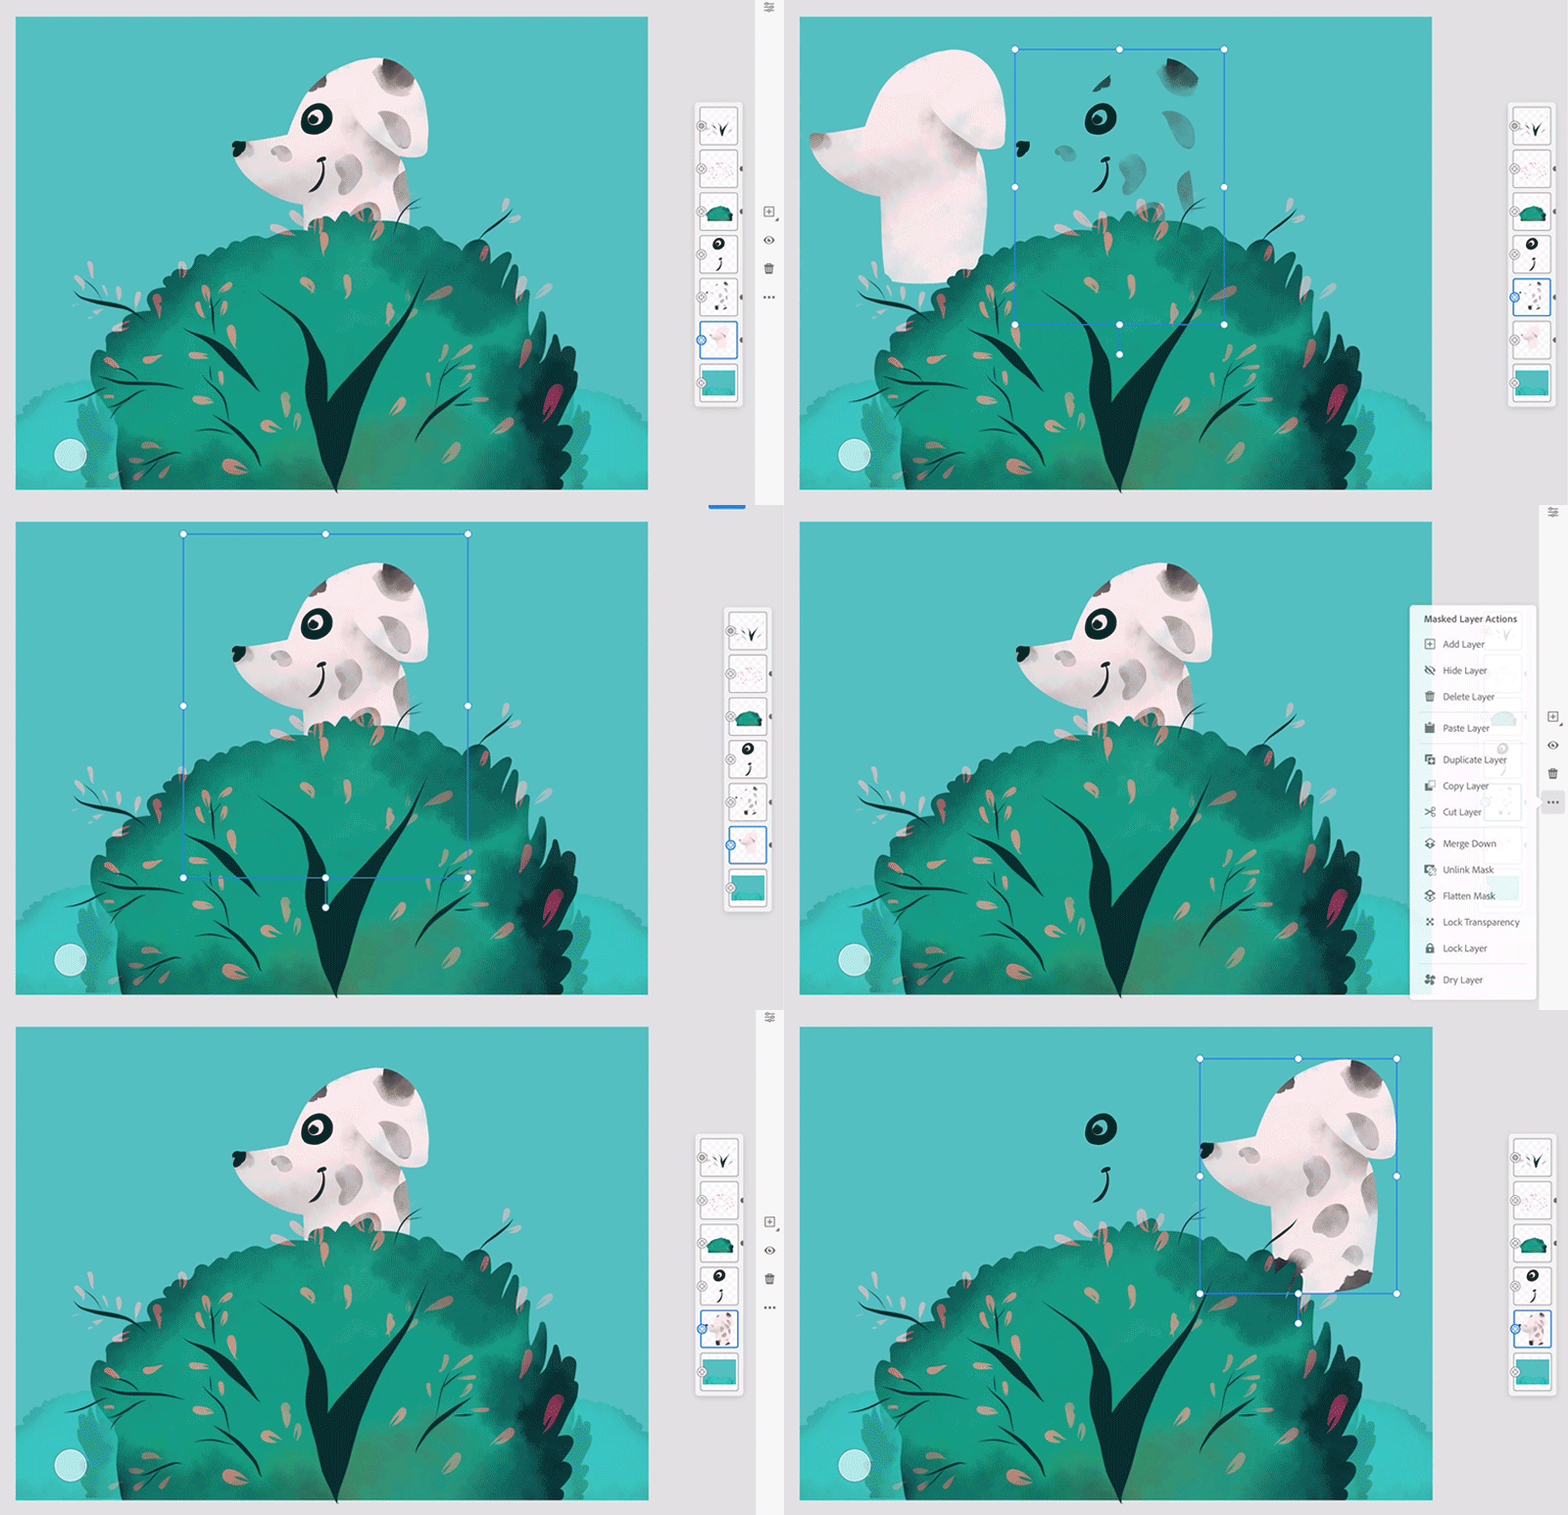
With layer masks, you can control the transparency of parts of layers. You have actions such as Invert Mask  and Link Mask
  to get more precise control and outcome.
For more information about how to use masking for the outcome you want, see Layer masks.
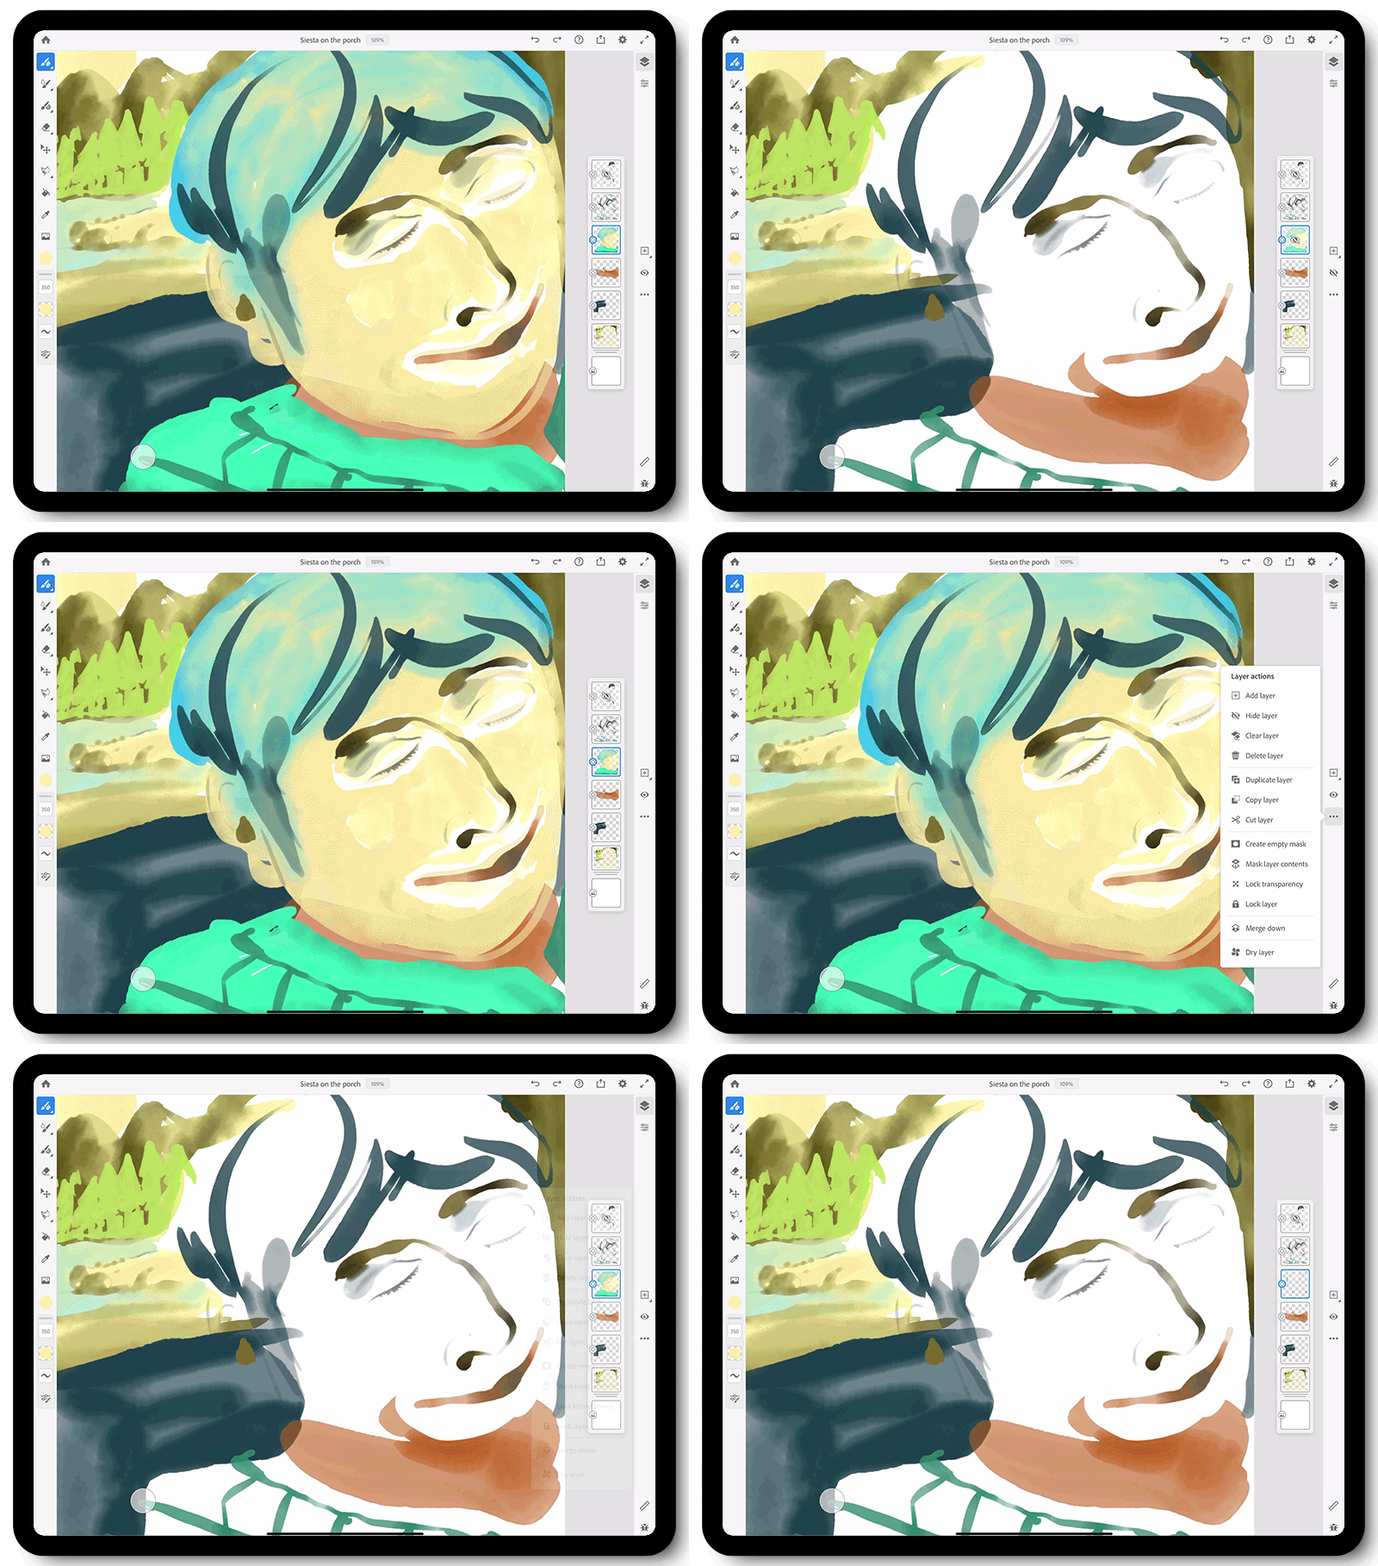
Clear layer contents
You can choose Clear layer to empty the contents of a layer from Layer actions menu. Clear layer sets pixels to transparent for raster layers and erases paths on a vector layer. This action does not appear for layer groups. Clear layer is enabled in all cases where the layer is editable. For example, it is hidden when a layer is locked or not visible.


Select multiple layers
Select multiple layers to simultaneously move, copy, merge, transform, or delete them.
To select multiple layers and access the multiple layer actions:
-
Select multiple layers Select multiple layers -
Tap more layers to add to the count. At the top of the layer stack, you can see the count of the number of selected layers.
 You can also use the Touch shortcut to select multiple layers.
-
After selecting multiple layers, click the More options icon.
In the Multiple layer actions menu, you have the options to delete, duplicate, and copy layers. You can also merge all the selected layers.To perform these actions, select multiple layers and tap: A to delete, B to duplicate, C to copy, and D to merge. To perform these actions, select multiple layers and tap: A to delete, B to duplicate, C to copy, and D to merge.
Move multiple layers at once
Multi-select the layers that you want to move at once. Tap, hold, and drag-and-drop the group to the destination in the layer stack.


Transform multiple layers at once
Multi-select the layers that you want to transform. Tap the Move & transform tool in the toolbar to move, flip, scale, rotate, resize, or nudge all the selected layers at once.


After transforming the layers, you can exit from the multiple layers mode by tapping close (x) at the top of the layer stack.
![]() Need more space and want to hide the nudge control? Tap the nudge icon
Need more space and want to hide the nudge control? Tap the nudge icon in the Transform toolbar to hide it. Tap it again to show it.
An adjustment layer applies color and tonal adjustments to your image without permanently changing pixel values. For example, rather than making a Levels or Curves adjustment directly to your image, you can create a Levels or Curves adjustment layer. The color and tonal adjustments are stored in the adjustment layer and apply to all the layers below it; you can correct multiple layers by making a single adjustment, rather than adjusting each layer separately. You can discard your changes and restore the original image at any time.
Adjustment layers provide the following advantages:
Nondestructive edits. You can try different settings and re‑edit the adjustment layer at any time. You can also reduce the effect of the adjustment by lowering the opacity of the layer.
Selective editing. Paint on the adjustment layer's image mask to apply an adjustment to part of an image. Later you can control which parts of the image are adjusted by re-editing the layer mask. You can vary the adjustment by painting on the mask with different tones of gray.
Ability to apply adjustments to multiple images. Copy and paste adjustment layers between images to apply the same color and tonal adjustments.
Adjustment layers have many of the same characteristics as other layers. You can adjust their opacity and blending mode, and you can group them to apply the adjustment to specific layers. Likewise, you can turn their visibility on and off to apply or preview the effect.
![]() The color adjustment layers in Fresco — Brightness/Contrast, Hue/Saturation, and Color Balance — match Photoshop adjustment layers. These adjustment layers will open and save properly with Photoshop.
The color adjustment layers in Fresco — Brightness/Contrast, Hue/Saturation, and Color Balance — match Photoshop adjustment layers. These adjustment layers will open and save properly with Photoshop.
Fresco supports three types of color adjustments and Clip feature.
1. On the right pane, tap the Appearances icon in the taskbar.
2. To get started, experiment with Hue/Saturation, Brightness/Contrast, and Color Balance.
Using Brightness/Contrast on an image:
1. Tap open the Layer Properties panel, use slider controls to adjust the brightness and contrast for your layer stack.
2. Make changes to all layers below the main layer stack, using the adjustment layer.
Using Hue/Saturation on an image:
Adjust the Hue/Saturation of the image using slider controls. The Hue/Saturation controls all the colors in the image.
You can isolate one color range and alter the effect. It provides another level of control to the user to colorize with different tones.
Using Color Balance on an image:
By using color balance, you can play with the color intensity using sliders to ranges that makes the image richer and also isolate shadows.
Adjustment layers and clipping masks
The effects of an adjustment layer can be clipped to a particular layer or layer group. You can do this by selecting the Clip box when creating the Adjustment layer or by selecting the adjustment layer and tapping on the Clipping Layer icon on the Layer actions bar.
Adjustment layers and layer masks
You can also combine layer masks with an adjustment layer to mask part of the adjustment. To do this, create an adjustment layer, then tap on the Layer actions menu and select Create Layer Mask.


Layer properties
The options in the Layer Properties pop-up help you get interesting visual outcome with your artwork elements.
Blend Mode
Choose a mode to mix colors in a unique way and create a vibrant outcome. You get all the blend modes that you get in Photoshop.
Opacity
Adjust the slider to give a transparent appearance to the selected layer.
Reference layer allows you to create a layer and use it as a primary reference. Later, you can create several new layers and add your art using the boundaries from your reference layer.


1. Tap the More Options icon to display the Layer Actions pop-up menu.
2. Click Add Layer and add a layer.
3. Open the new layer and click anywhere in the layer to get the Layer actions panel.
4. Click Set as reference to set the layer as a reference layer.
5. Create a new layer and fill the layer type.
![]() On selecting the Fill , choose between Vector or Pixel in the Fill layer type popup. A vector becomes a vector reference layer and a pixel layer becomes a pixel reference layer. The pop-up only appears on the vector layer.
On selecting the Fill , choose between Vector or Pixel in the Fill layer type popup. A vector becomes a vector reference layer and a pixel layer becomes a pixel reference layer. The pop-up only appears on the vector layer.
6. Add your art using the boundaries from your reference layer.
The effect of selecting the vector or pixel fill of the reference layer.
Hide/show all other layers
You can now hide all other layers except the one you are working on and later enable all the layers back to view.
To hide all other layers:
1. Tap the More Options icon or tap the layer you want to work on, to display the Layer group actions pop-up menu.
2. Tap Hide all other layers to hide all the other layers except the one you are working on.
To show all other layers:
1. Tap the More Options icon or tap the layer you want to work on, to display the Layer group actions pop-up menu.
2. Tap Show all other layers to show all the other layers.
![]() You can also toggle the Show/Hide all other layers feature by double-tapping on a layer with the secondary touch shortcut selected. For more information on touch shortcuts, see Get started with user interface.
You can also toggle the Show/Hide all other layers feature by double-tapping on a layer with the secondary touch shortcut selected. For more information on touch shortcuts, see Get started with user interface.
What's next?
Have a question or an idea?
If you have a question to ask or an idea to share, come and participate in Adobe Fresco Community. We would love to hear from you.

