- Substance 3D home
- Home
- Getting Started
- Interface
- Objects
- Using Stager
- Features
- Common issues
- Release notes
Learn how to render your 3D scene and to adapt the settings to your needs.
Rendering is the process that draws the scene models, materials, and lights as pixels. Adobe Substance 3D Stager combines real-time and ray tracing techniques in interactive and offline methods. Render settings allow flexible control over speed and quality.
Real-time and ray trace rendering
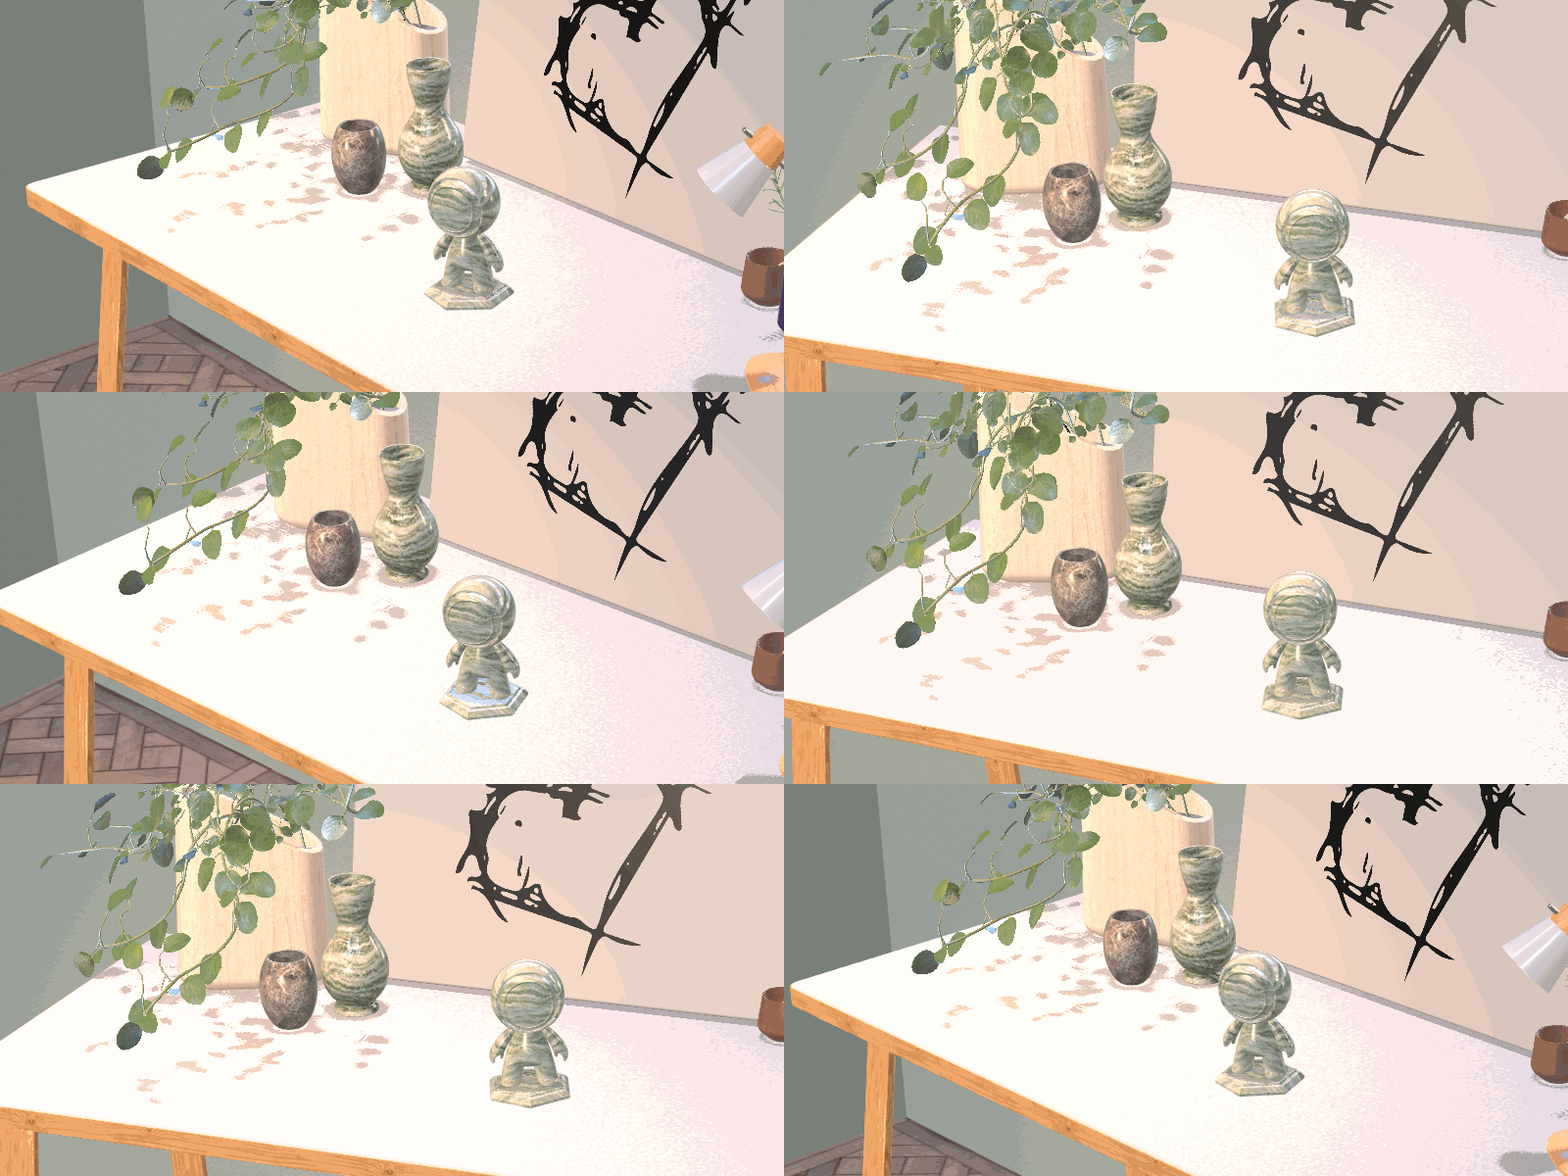
Stager uses real-time rendering, optimized for speed and interactivity, by default.


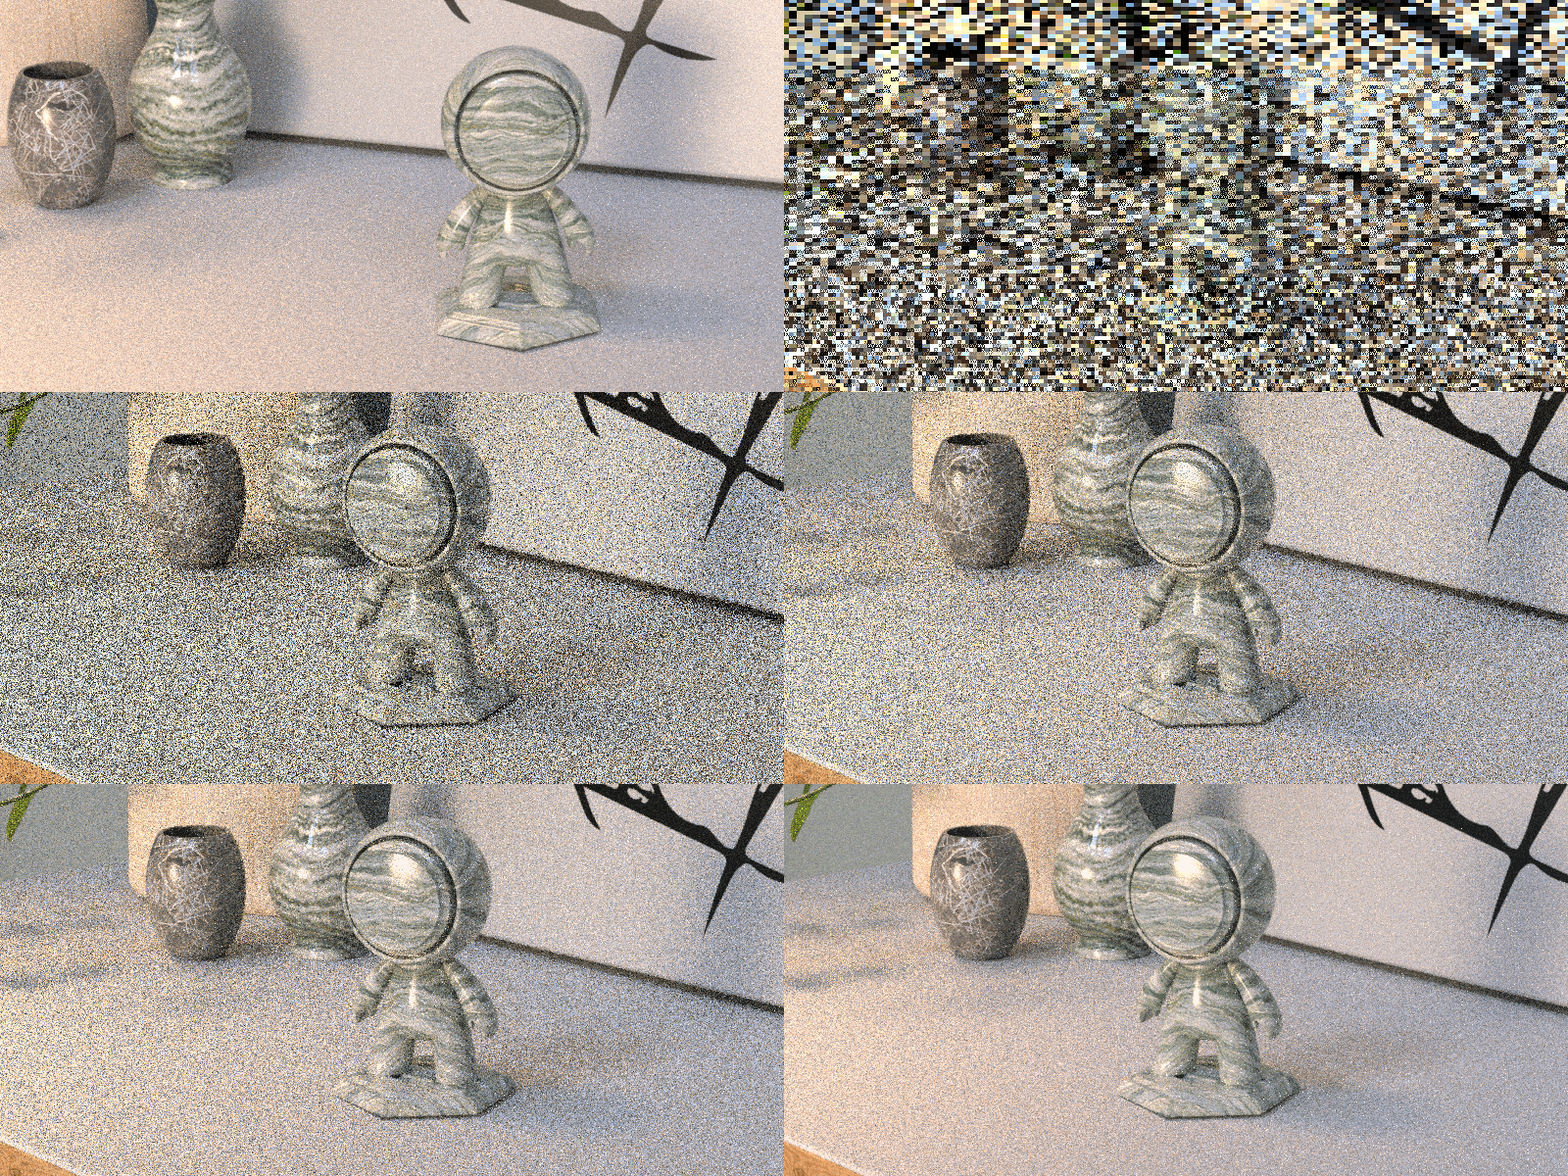
You can also enable ray tracing, which uses its namesake technique to shoot light rays through the scene. The rays of light bounce off objects and materials, then bounce to the camera lens, which mimics what happens with real physical cameras.
Ray tracing provides more information to create realistic shadows, reflections, and translucency.
Stager supports ray tracing on both CPU (macOS and Windows) and GPU (Windows only).


Use viewport control bar > Render using ray tracing to quickly swap between real time and ray tracing in design mode.


Use the Render Settings panel to set the active render method and configure rendering performance and quality settings. You can configure both the real time and ray tracing methods including common settings like overall quality and whether to use displacement and denoising.


Use the Render Settings panel to fine tune performance and quality of your images.
Learn more about render settings in our documentation.
What's Next?
We've got you covered on how to create a render of your scene. You want to learn about some vocabulary used in this article? Read the Substance 3D Stager glossary to learn more.
Have a question or an idea?
If you have a question to ask, come and participate in the Substance 3D Stager community. We would love to hear from you.
You can also share your ideas of new features with us!